Start where your client actually starts
Do not begin at the practice door.
Begin at the place where a new client first has to make a decision. That might be:
- the parking lot entrance;
- the nearest transit stop;
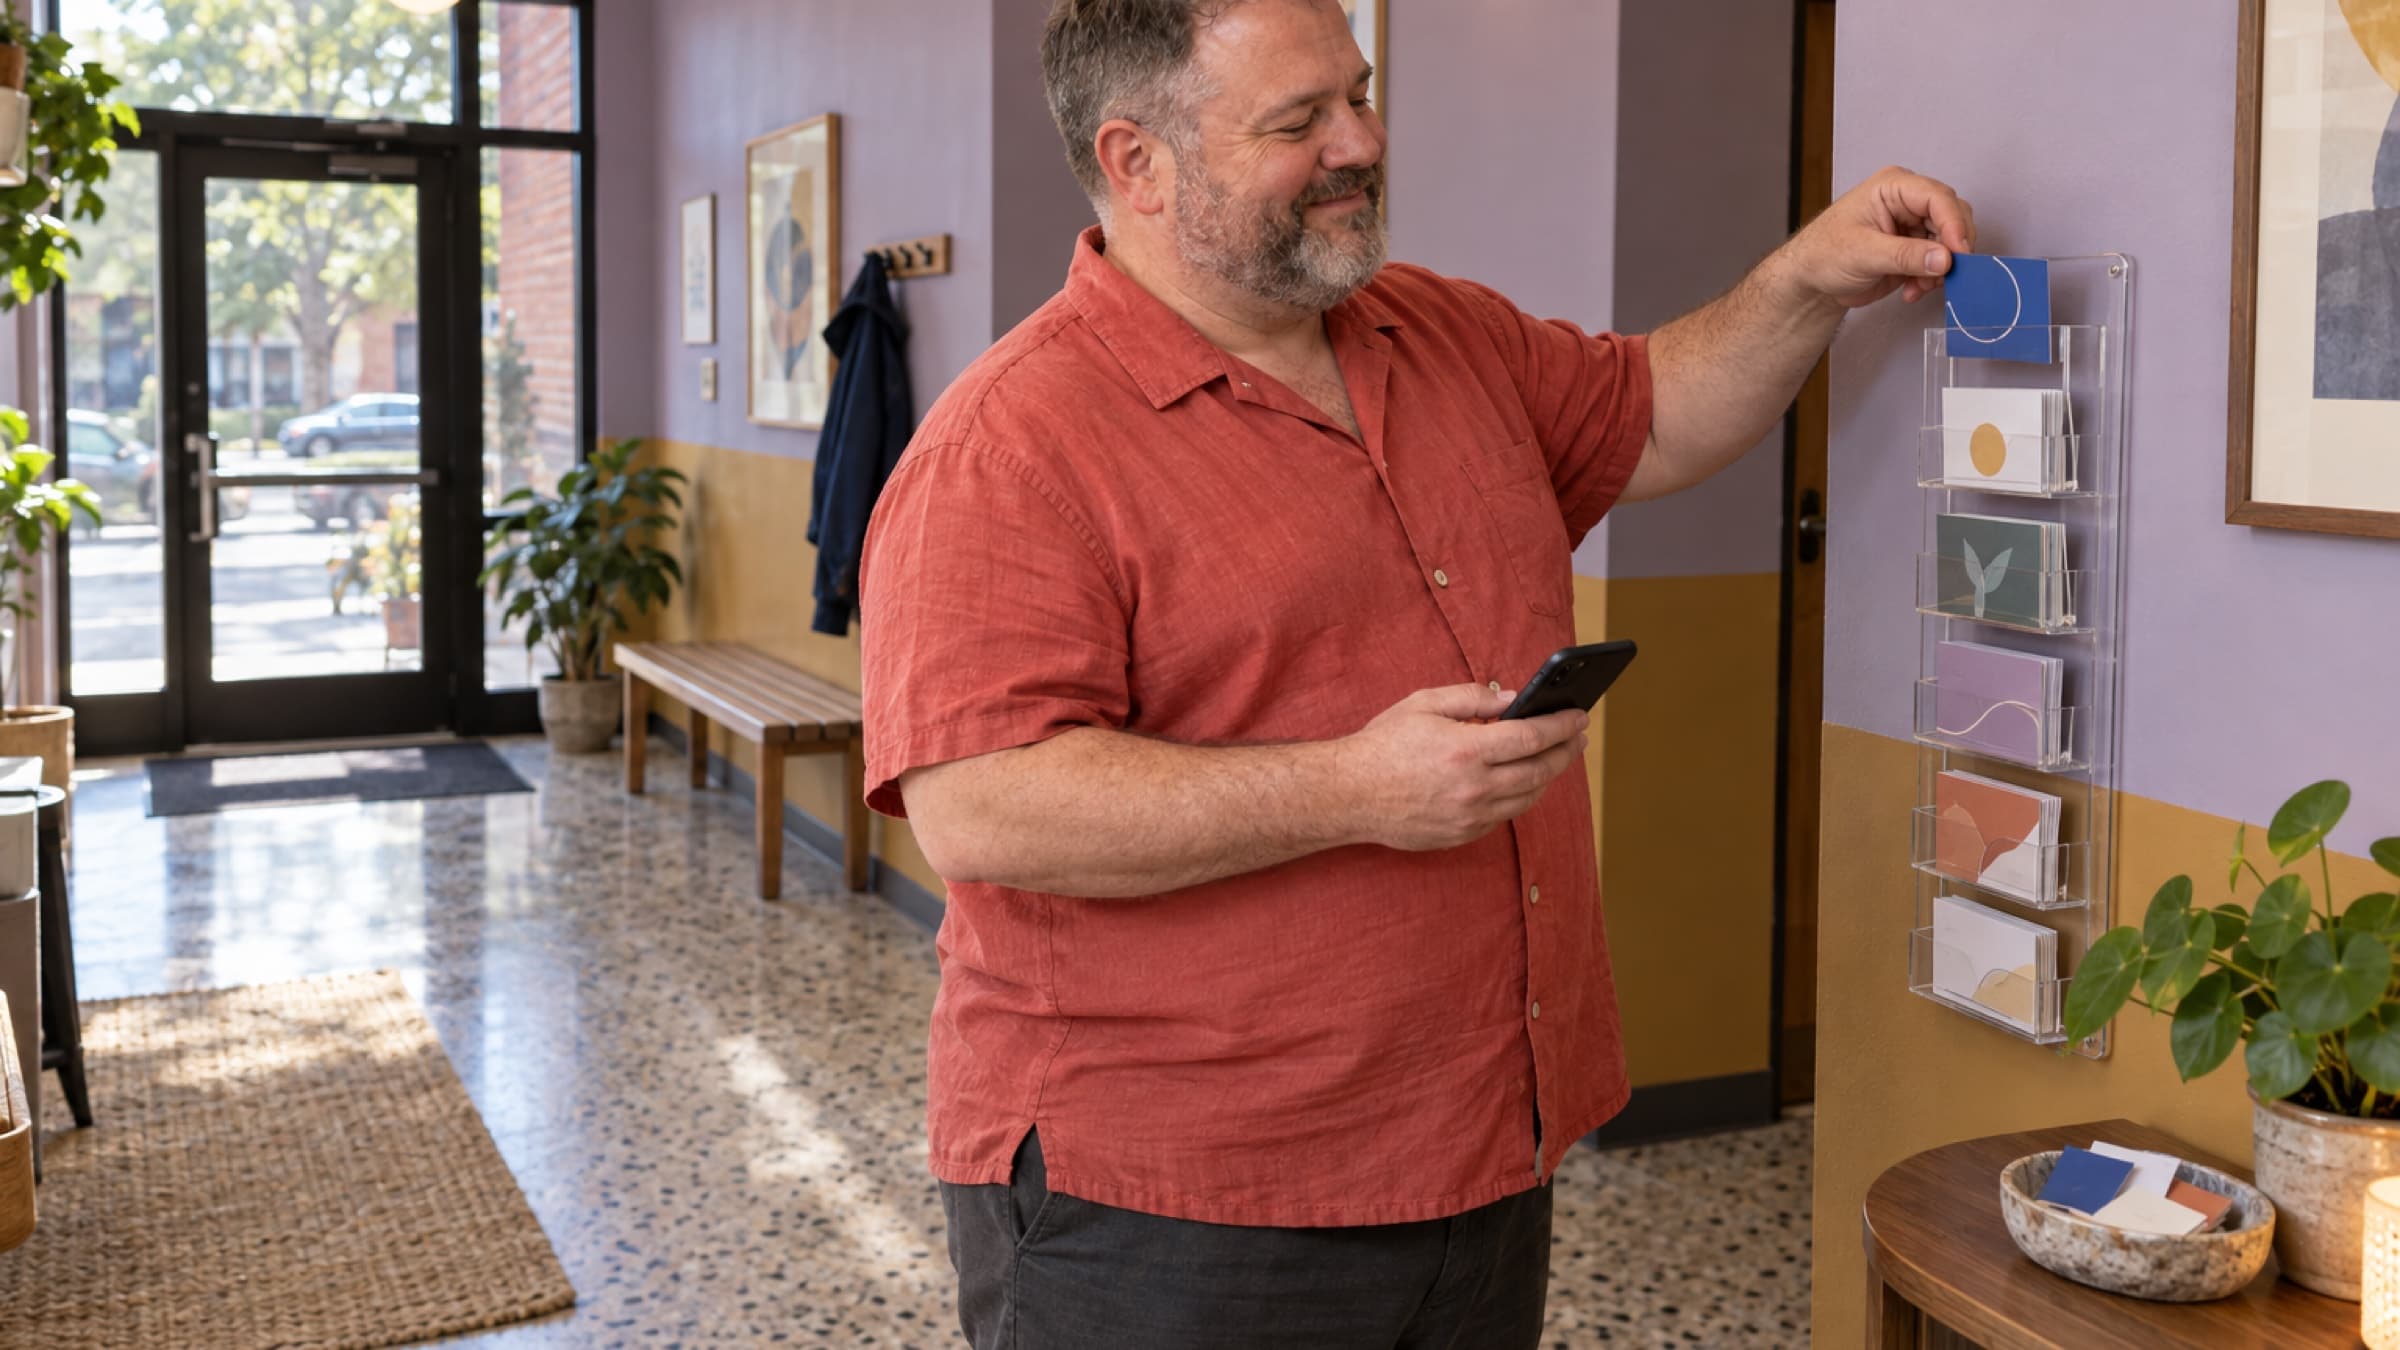
- the building lobby;
- the elevator landing;
- the top of a stairwell; or
- the point where two hallways split.
Walk the route without relying on what you already know. Notice when you instinctively turn, reach for a key, choose an elevator button, or recognize a landmark. Those are the moments a first-time client may need help with.
If your practice has more than one common arrival route, walk each one. A client arriving from accessible parking may see a different entrance from someone coming from the street. An evening entrance may differ from the one used during business hours.
The goal is not to document every step. It is to find the few decisions where a clear photo or sentence can prevent uncertainty.
Photograph decisions, not decoration
A useful arrival photo answers a practical question.
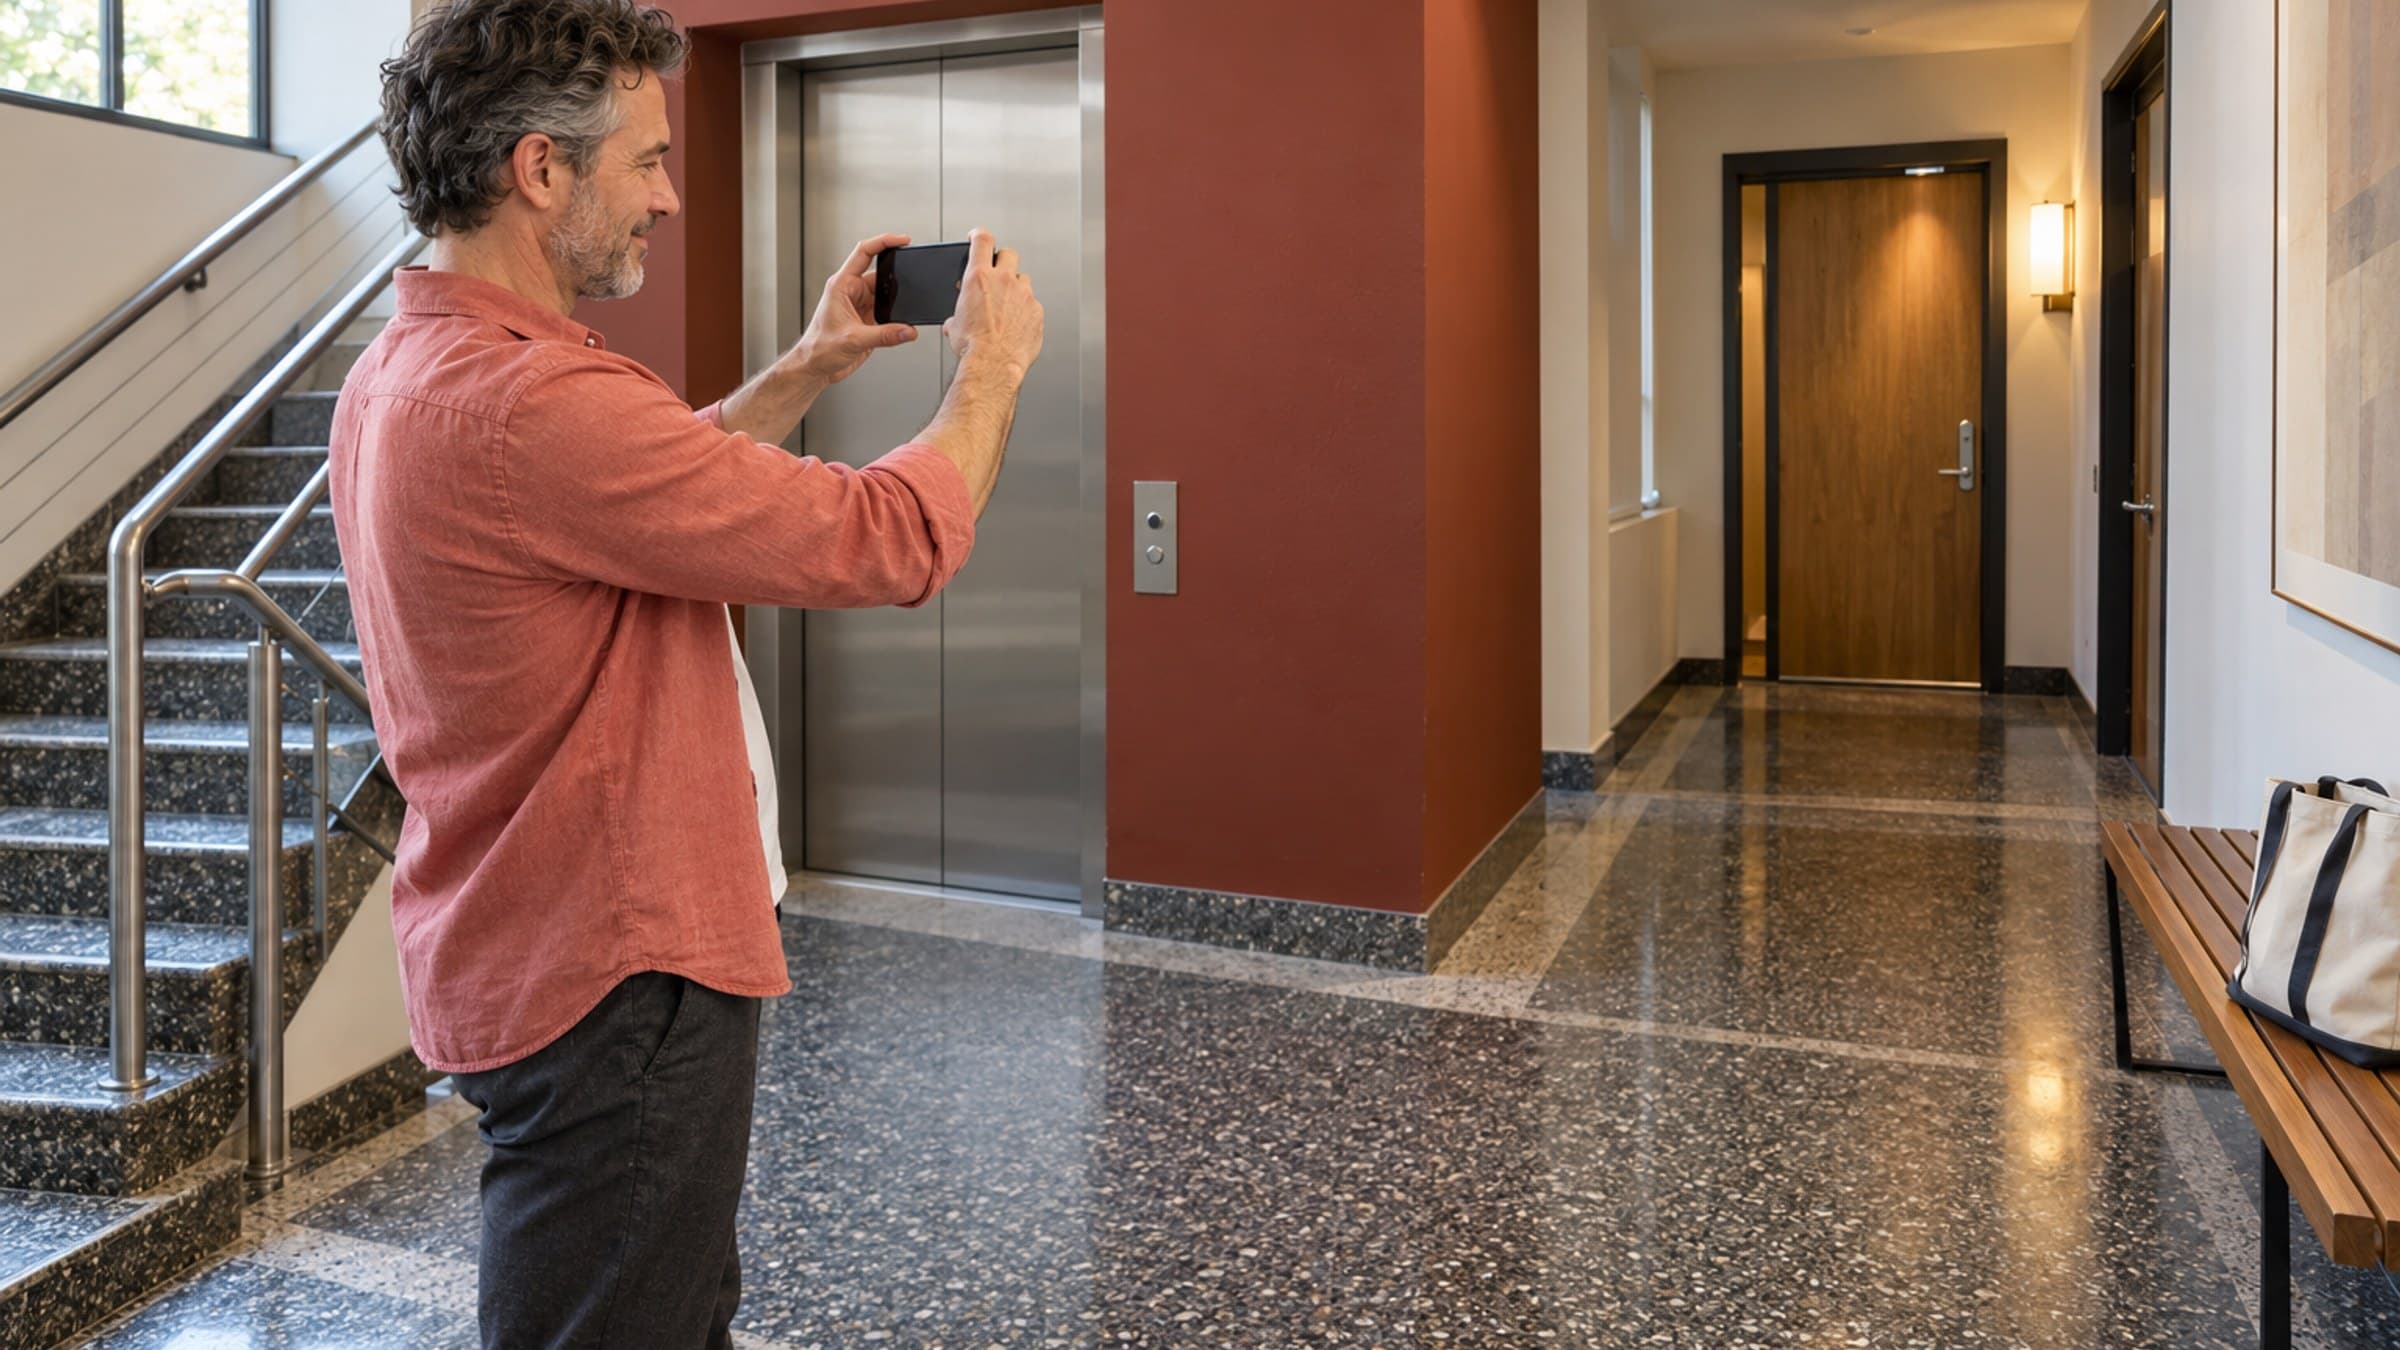
It might show which building entrance to use, where the elevator sits in the lobby, which direction to turn after leaving it, or what the practice door looks like from the hallway.
A beautiful close-up of your sign may look polished, but it does not help if the client cannot see where that sign is in relation to the entrance. Step back far enough to include the surroundings that make the place recognizable.
For each confusing point, take one wide photo that shows the setting and one closer photo that confirms the destination. Then choose the clearest image, not the prettiest one.
Before you use a photo, check the background carefully. Remove or crop out:
- client names or appointment details;
- vehicle licence plates when they are prominent;
- private office information;
- building access codes;
- faces of people who did not agree to be photographed; and
- signs for neighbouring businesses that could cause confusion.
Retake the photo when the light is poor or the important doorway blends into the background. Clarity matters more than mood here.
Write directions that match the pictures
Photos work best when the written directions use the same landmarks.
If your photo shows a clay-red wall beside the elevator, your directions can say, "Leave the elevator and turn toward the clay-red wall. Our door is at the end of the short hallway."
Avoid instructions that depend on local knowledge. "Use the old bank entrance" may mean nothing to a new client. "Come in through the glass doors beside the pharmacy" is easier to follow while they are standing outside.
Keep each step short. A client reading on a phone while carrying a bag, guiding a child, or moving through a busy lobby should not have to decode a paragraph.
A simple structure is enough:
- where to enter;
- what to do inside;
- how to recognize your door; and
- who to contact if they still cannot find you.
Read the directions beside the photos. If the wording points left while the picture suggests right, fix the mismatch before you send either one.
Check the route at the appointment time
A route that works at noon may change in the evening.
The main door may lock after business hours. A reception desk may be staffed only on weekdays. Hallway lights may be dimmer. Parking signs may change by time of day. Construction, seasonal weather, and a moved building directory can also make old instructions unreliable.
Walk the route when clients actually arrive. If you offer early morning, evening, or weekend appointments, test at least one of those times.
Also check the route in the conditions that make it hardest to follow. Rain can hide pavement markings. Snow can block a curb ramp. Bright sun can make a glass door look closed. A temporary sign may cover the suite directory.
You do not need a different photo for every condition. You do need to know when a permanent instruction is no longer true.
Notice access needs without making assumptions
Photographing the route can reveal barriers that are easy to miss when you use the space every day.
Look for heavy doors, narrow turns, stairs without a nearby lift, unclear elevator controls, low light, uneven flooring, and seating that is difficult to find. Check whether someone using a mobility aid can follow the route shown in your instructions without encountering an unexpected step.
If there is an accessible entrance, describe it directly. Do not make clients ask for it as though it were a special favour. If the accessible route is temporarily unavailable, contact affected clients before they travel and offer a practical alternative when you can.
Photos cannot prove that a route works for every person. They can help you describe the route honestly and notice where you need better information, a building repair, or a conversation with the property manager.
Ask someone unfamiliar to test the route
The best test is another person who does not already know the way.
Send them the same address, photos, and instructions a new client receives. Ask them to start outside and tell you the first moment they hesitate.
Do not guide them while they walk. Watch for where they slow down, look back, or choose the wrong door. One small hesitation often reveals the exact image or sentence that is missing.
Then make the smallest useful correction. You may need one wider photo, a clearer landmark, or a direct sentence about the second-floor entrance. You probably do not need a twelve-step photo tour.
Test the updated version once more. The route is ready when someone can follow it without needing a live rescue call from the front desk.
Keep one current set
Arrival photos become unhelpful when old and new versions circulate together.
Choose one current set and remove outdated copies from your website, saved email templates, team documents, and shared folders. Give the files simple names such as building-entrance, elevator-turn, and practice-door so your team can tell which image belongs where.
Review the set when you move, renovate, change entrances, add evening appointments, or hear the same arrival question more than once. A five-minute update is easier than repeatedly explaining an old route by phone.
Stillpoint's online booking tools carry your current location details into the client booking experience and appointment information. If you use a Stillpoint website, you can also place a clear location photo with the address and contact details. The photograph does not need to impress anyone. It needs to help the next client know they are in the right place.