Start with the experience, not the shot list
Before taking a photo, decide what the image should help a client understand.
A homepage photo may need to communicate the overall feeling of the practice. A booking page image may need to show the room where the service happens. An arrival page may need to make the entrance recognizable. A practitioner photo needs to help someone feel that they know who will greet them.
Those are different jobs. One photograph rarely does all of them well.
Choose one job for each image. Write it down in plain language before you start:
- This photo should make the front door easy to recognize.
- This photo should show that the treatment room is private and comfortable.
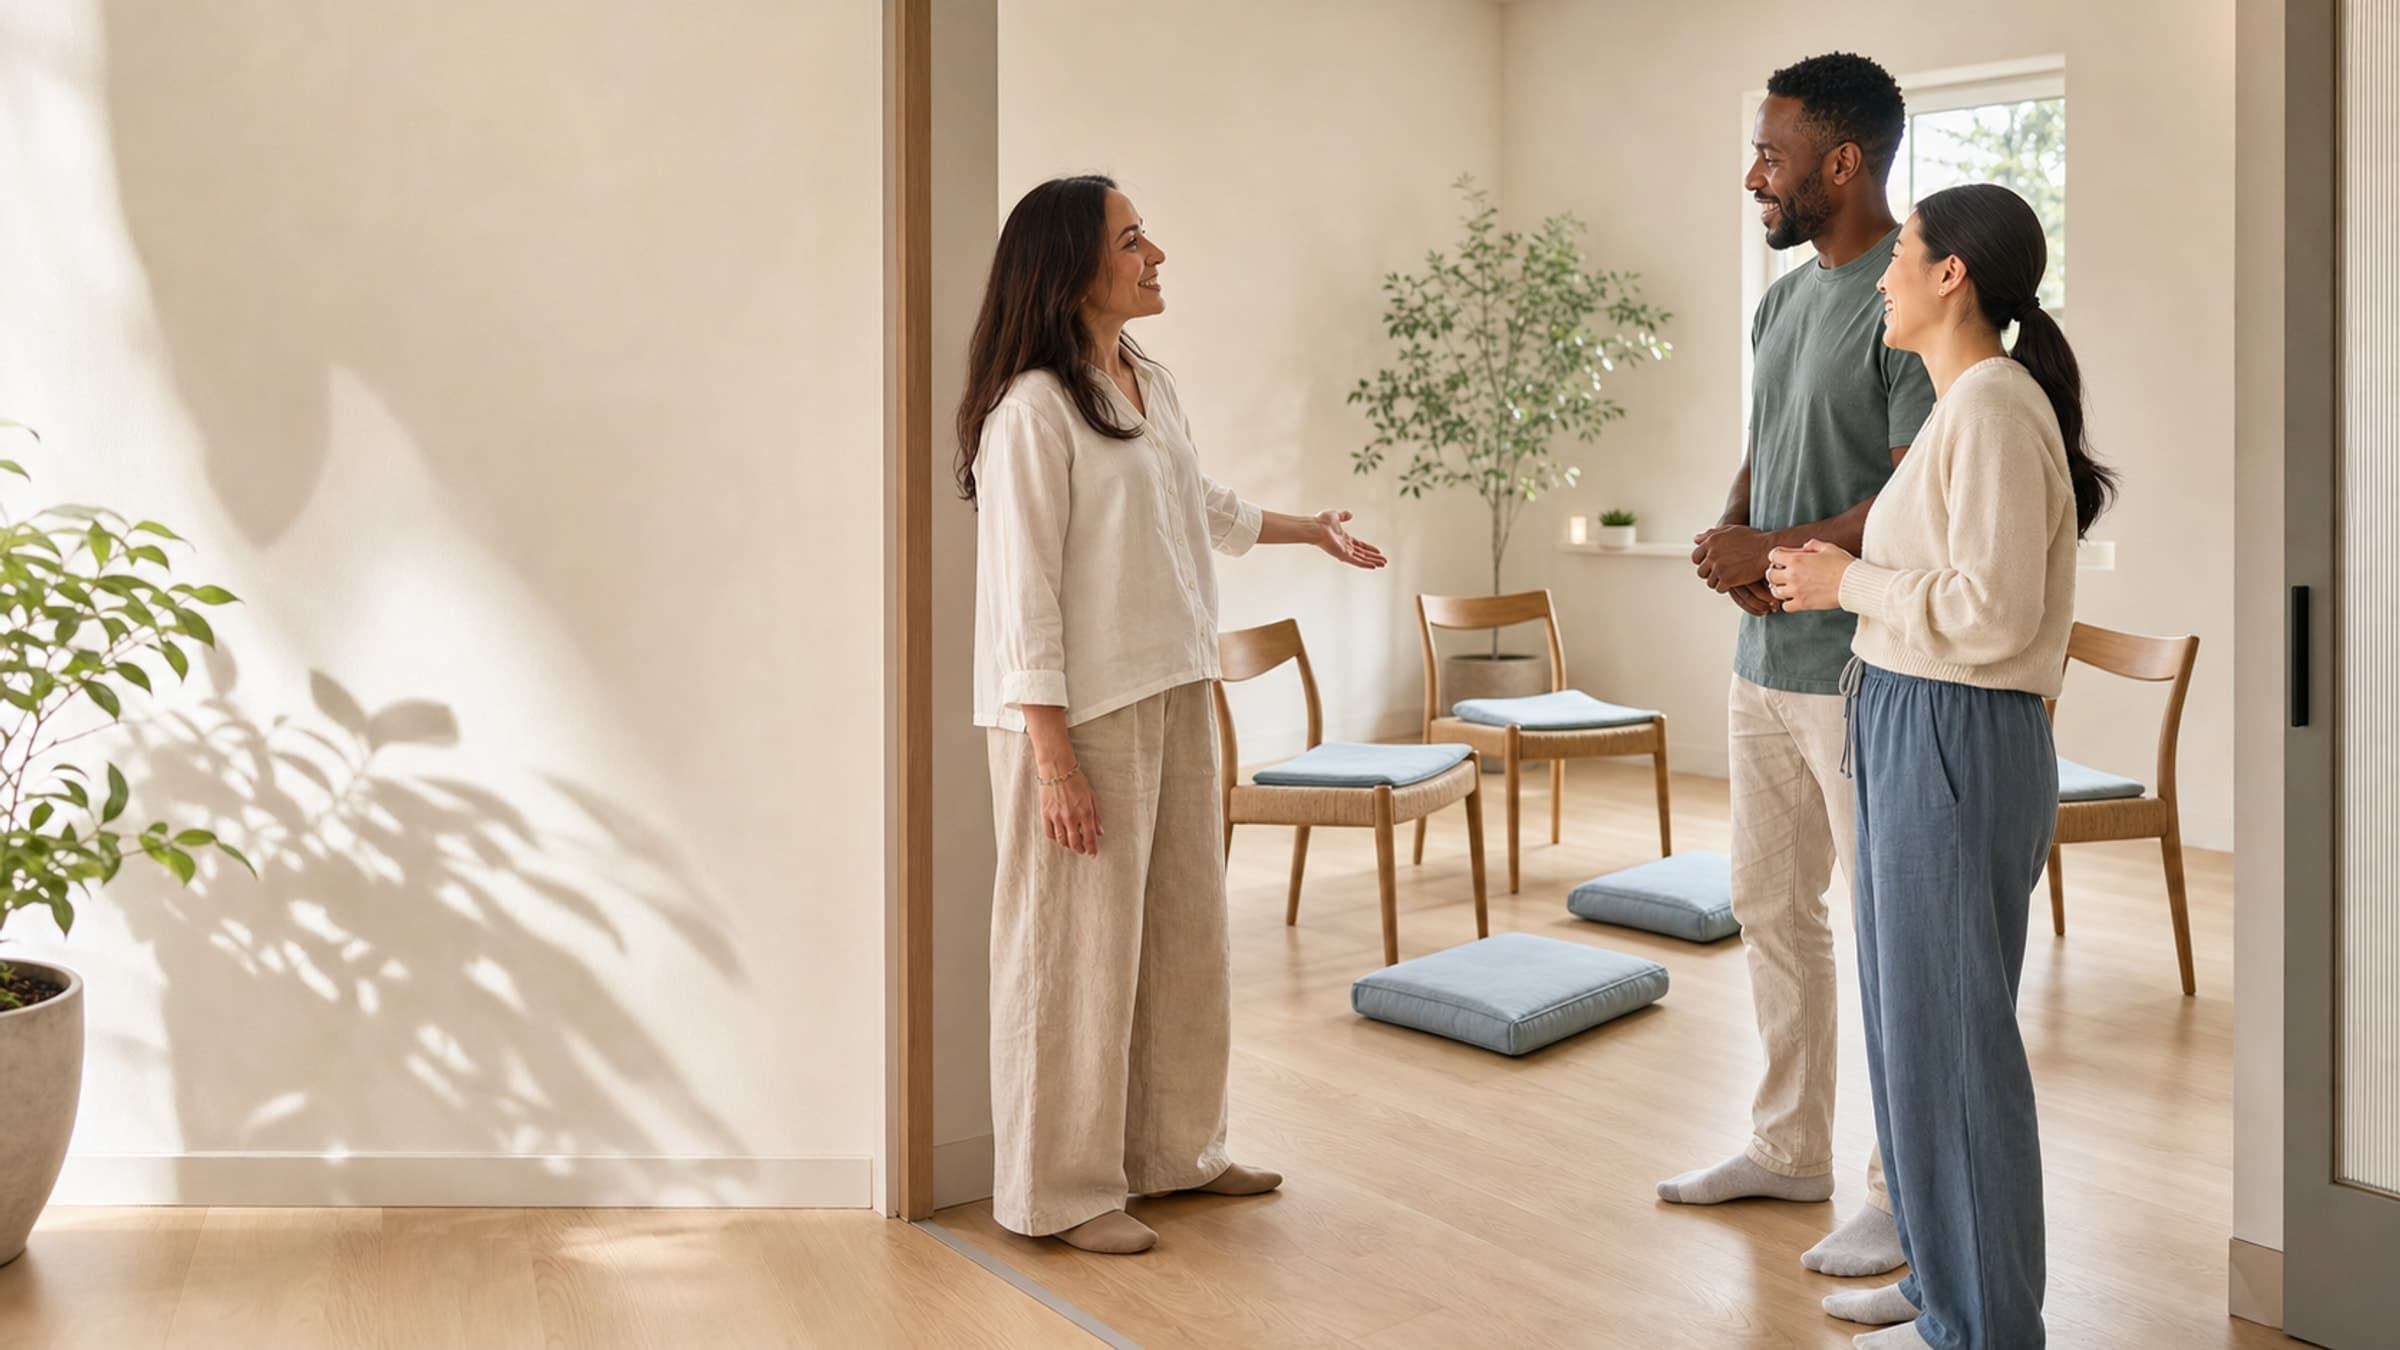
- This photo should show me as warm, capable, and at ease in the space.
- This photo should help someone understand what to bring or where to put their things.
Once the job is clear, the photograph gets simpler. You are no longer trying to make the whole practice look impressive in one frame. You are showing one useful truth.
Photograph the route a client actually takes
Many practice websites show the treatment room and skip everything that comes before it. A new client may still be wondering whether they have the right building, which door to use, or what happens when they step inside.
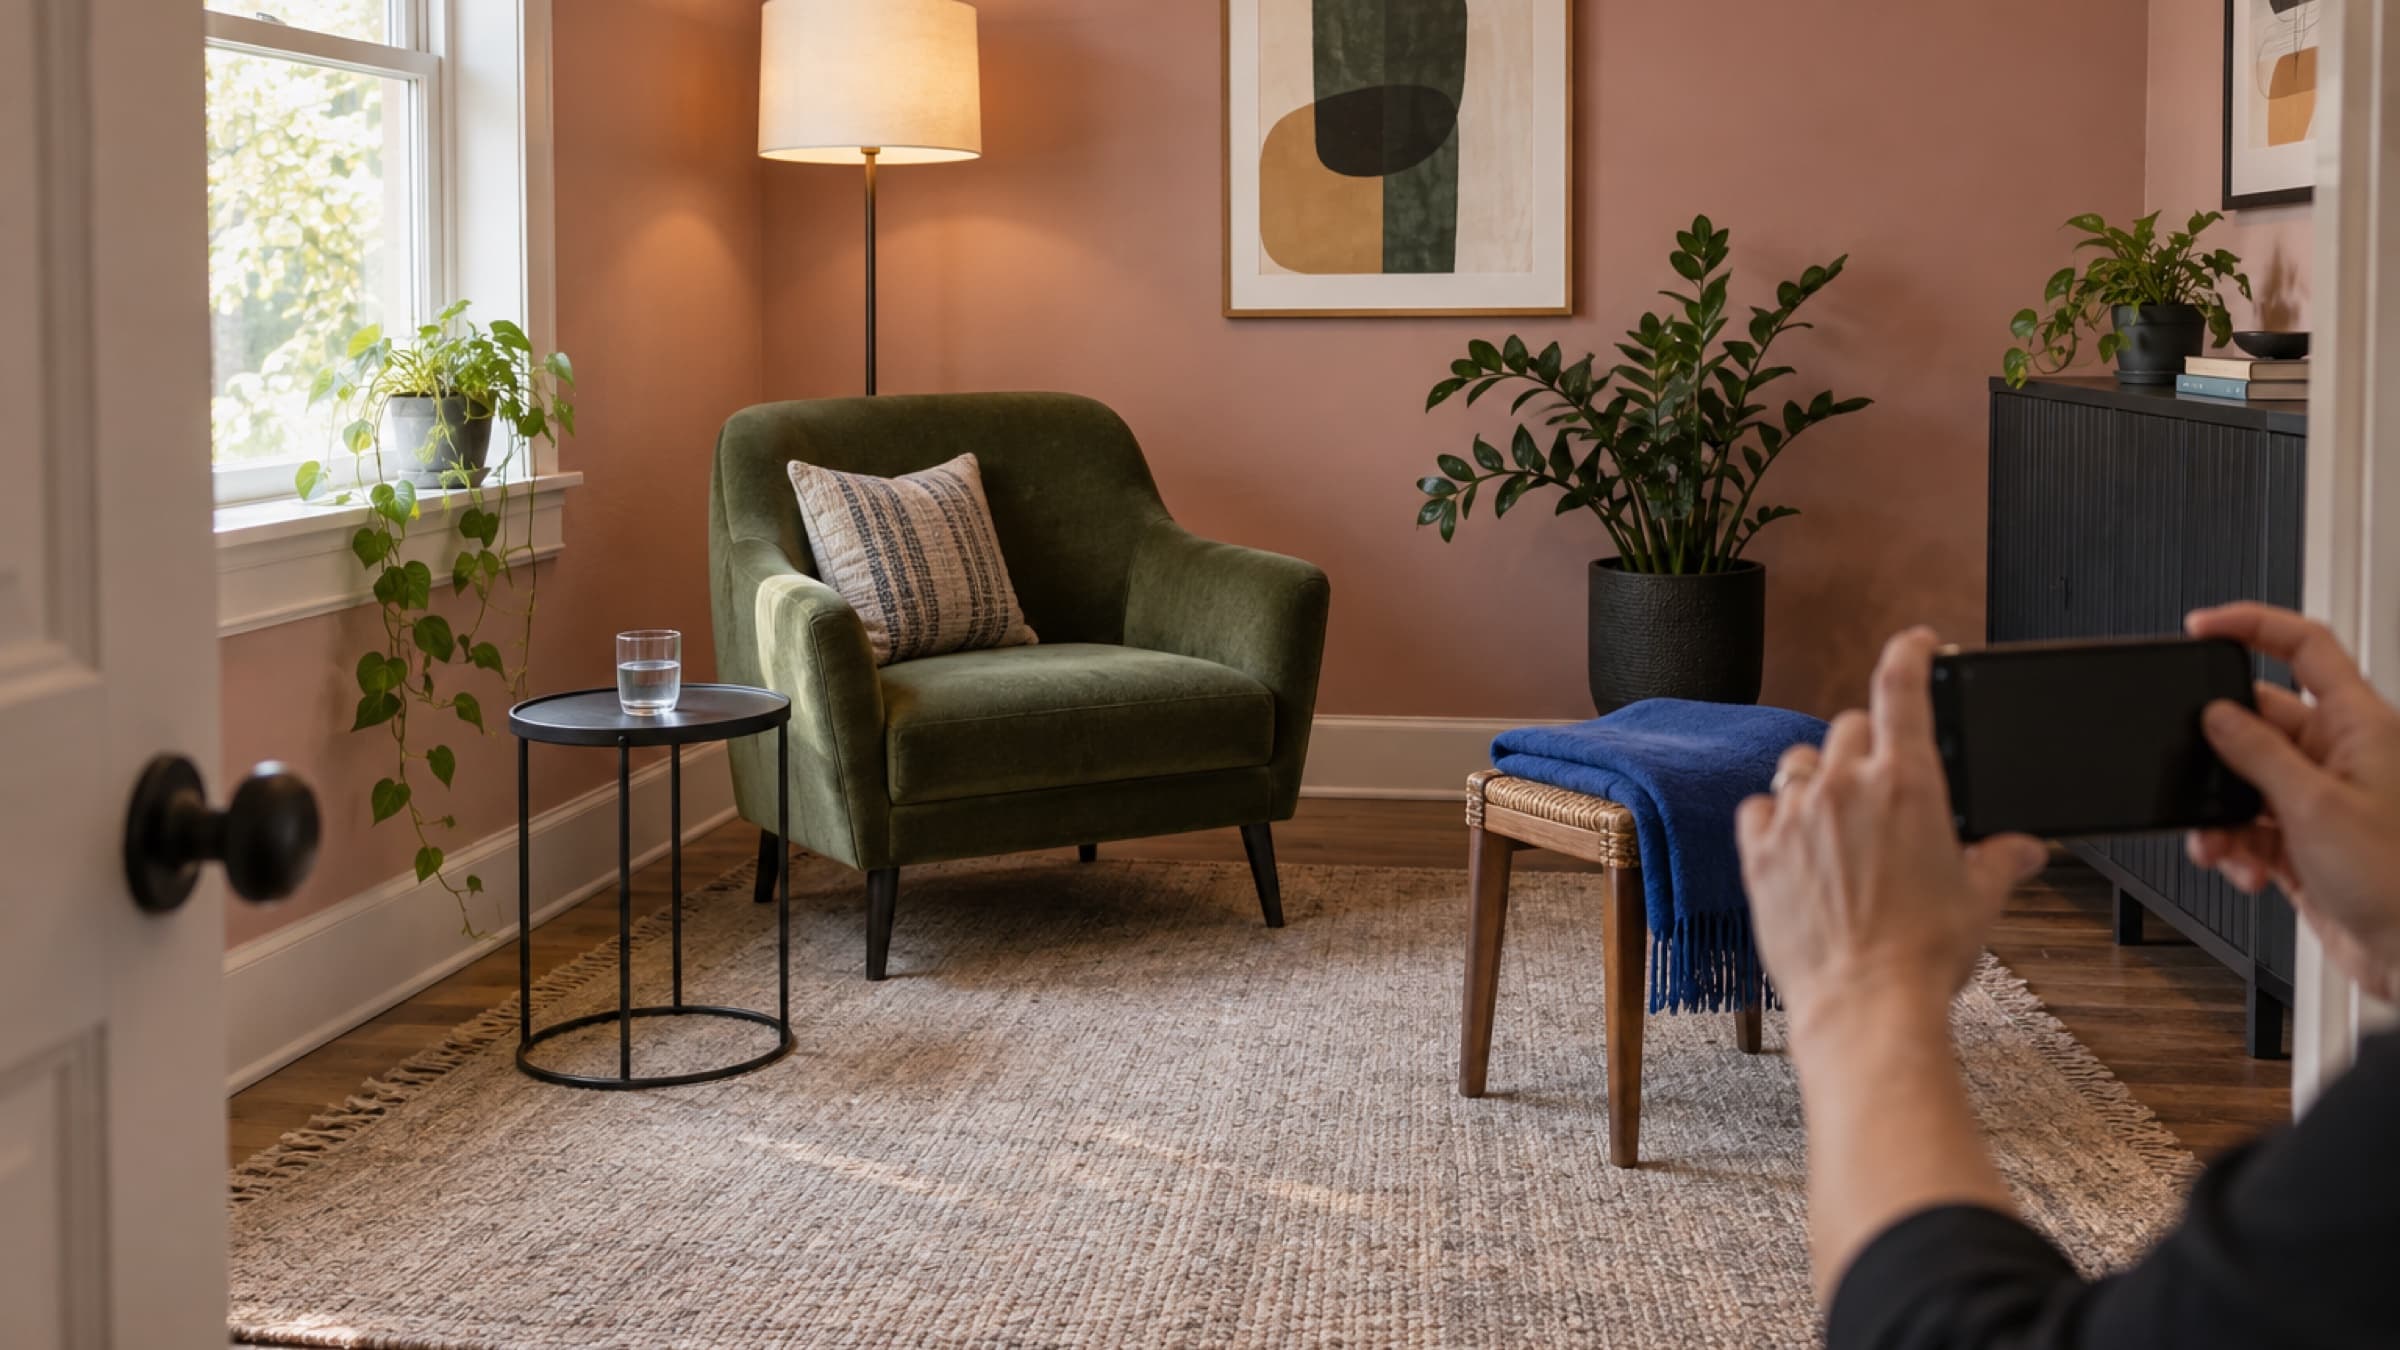
Walk the arrival route with your phone in your hand. Start outside. Notice what a first-time visitor sees from the sidewalk, parking area, elevator, or hallway. Then step through the entrance and look toward the place where they will wait.
You may discover that the most reassuring photo is not the prettiest corner. It might be the street-level door beside a recognizable awning, the short hallway from the elevator, or the reception chair visible as soon as someone enters.
Do not rely on the photograph to replace written arrival instructions. Weather, construction, lighting, and neighbouring businesses change. Use the image as a visual confirmation, then give the essential direction in words.
Keep the camera near a client's eye level
Real estate photographs often use a very wide lens and a high corner to make a room look large. That can work for selling a building. It is less helpful when you are trying to show what it feels like to sit in the room.
Hold the camera around chest or eye height. Stand where a client naturally pauses, sits, or enters. Keep the phone level so doors and walls do not lean away from each other.
Move your feet before using digital zoom. A step forward can remove a distracting doorway. A step sideways can keep a chair from blocking the whole room. Small changes in position usually improve the image more than a filter will.
Take a horizontal version with extra space around the subject. Website images are cropped differently on phones, laptops, and cards shared on social media. A little breathing room protects the important part of the photograph when the edges are trimmed.
Use the light you already have
You do not need studio lights for a clear, welcoming practice photo. You do need to notice where the brightest light is coming from.
If the room has a good window, take the photograph when that light is soft and useful. Stand so the window lights the room from the side rather than pointing the camera directly into it. Tap the part of the room you want the phone to expose correctly, then lower the brightness slightly if pale walls or linens are losing detail.
Turn on the lamps you normally use during an appointment. They help the room look like the place a client will actually enter. If one overhead light creates a harsh green or orange cast, turn it off and see whether the window and practical lamps are enough.
Avoid photographing a daytime practice at night simply because that is when you finally have time. A dark window can make a friendly room feel closed. If most clients visit after work, an evening image may be truthful and useful, but make it intentional. Show the warm route in, not a room disappearing into shadow.
Reset the space without removing its character
A tidy room photographs better. An erased room does not always feel better.
Remove anything that looks accidental: an overflowing bin, a delivery box, a tangled cable, yesterday's mug, or a coat hanging from the treatment table. Straighten the chairs and replace used linens. Check mirrors and reflective surfaces before you take the photo.
Then stop. You do not have to remove every ordinary sign that the space is used. A clean folded blanket, a water glass, a stool beside the table, or a practical basket can help the room feel ready rather than staged.
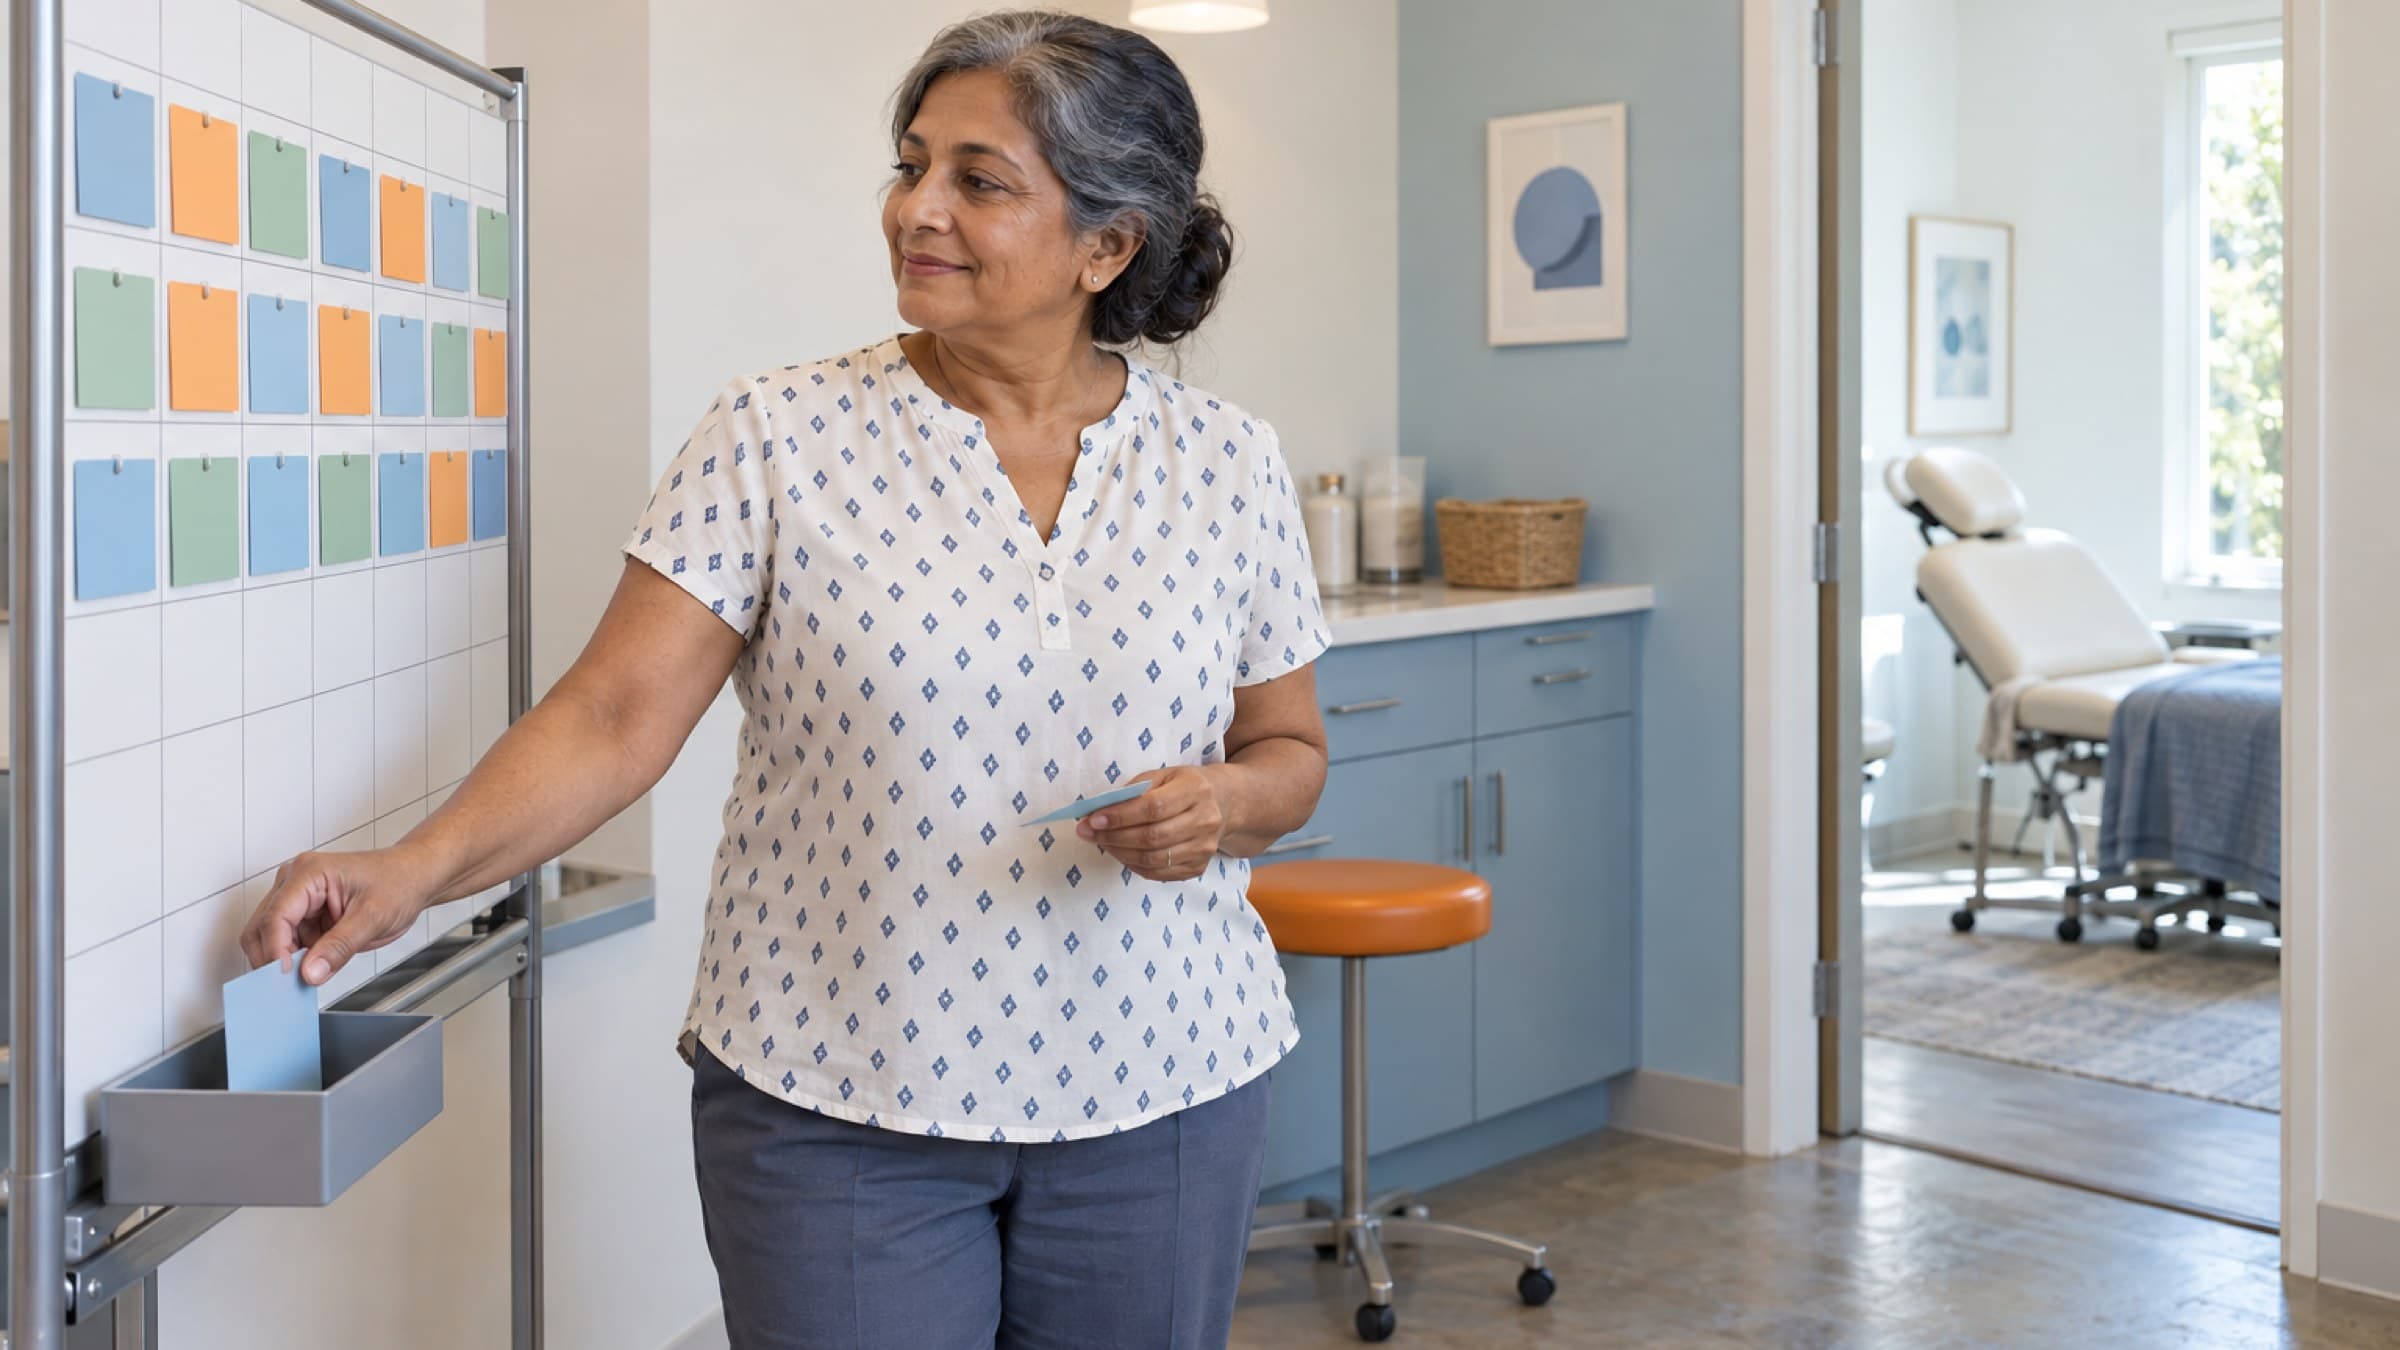
Be careful with the details you have stopped seeing. Look for client names on a calendar, labels on folders, notes on a whiteboard, prescription containers, computer screens, delivery labels, family photographs, or identifying images in the background. If a private detail is visible, move it before taking the photograph. Cropping later is not a reliable privacy plan, especially if the original image is saved or shared.
Include people only when they add meaning
Not every practice photo needs a smiling practitioner looking directly at the camera. Sometimes the space should carry the story.
When a person is useful, give them something real to do. Open the front door. Adjust the treatment table. Set out the materials used for a class. Sit where a consultation begins. A small, familiar action usually looks more natural than folding your arms and trying to appear approachable on command.
Wear what you would comfortably wear for an ordinary working day. Check that the clothing sits well when you move, not only when you stand still. Ask the person taking the photo to capture the moment just before or after you look toward the camera. That is often where your expression feels most like you.
If a client or colleague appears in the image, get clear written permission for that specific use. Never use an active client session as convenient website content. A staged scene with a consenting colleague or model gives you control over privacy, clothing, background details, and how the image may be used later.
Choose the photograph at its real size
The image that looks impressive full-screen is not always the one that works on a website.
Put your two or three strongest options into the page before deciding. Check the desktop and mobile preview. Look at the photograph beside the headline and booking button, not by itself in your camera roll.
At the size where a visitor will actually see it, ask:
- Is the important part obvious within a second?
- Does the room still feel warm when the edges are cropped?
- Does the image make the next step feel easier?
- Is there enough contrast for nearby text to remain readable?
- Does this look like the same practice described by the rest of the page?
Choose the clearest answer, not the most dramatic photograph. A simple image of the real entrance can build more trust than a polished close-up that could belong to any wellness business.
Update one image when the practice changes
Website photography does not have to become a large annual project.
Take a new photo when you move a room, change the entrance, add a practitioner, replace a major piece of furniture, or begin offering a service in a different setting. Keep the files in one folder with a clear date so you can tell which version is current.
Once or twice a year, open the site on your phone and compare it with the practice around you. If the images still help a new client recognize the route, understand the room, and picture meeting you, they are doing their job.
Start with one honest photograph. Stillpoint's hosted practice website lets you add photos, preview changes, and publish when the page feels right. Explore the practice website builder.